
Product guide · Updated
Set up the details your customer needs
Use an owner or administrator account to manage invoices. Check your business name, contact details, country, currency, tax settings and payment instructions before issuing the first one. You need internet to create invoices and payment links.
In Settings > Invoice Settings, choose how completed jobs create invoices: Generate and prompt to send, Generate and save only or Manual invoice only. A prompt to send still needs you to review and share the invoice.
You can create invoices and record received payments without connecting Stripe or Xero. Online payment links require the business owner's Stripe setup; Xero export needs a separate connection. Follow the payments and accounting setup guide when you need either.
Check the draft against the completed visit
- Confirm the customer, service address and completed work.
- Review each item, quantity, price, applicable tax and total.
- Check the invoice number, issue date, due date and payment instructions.
- Check whether an invoice already exists for the visit before creating another.
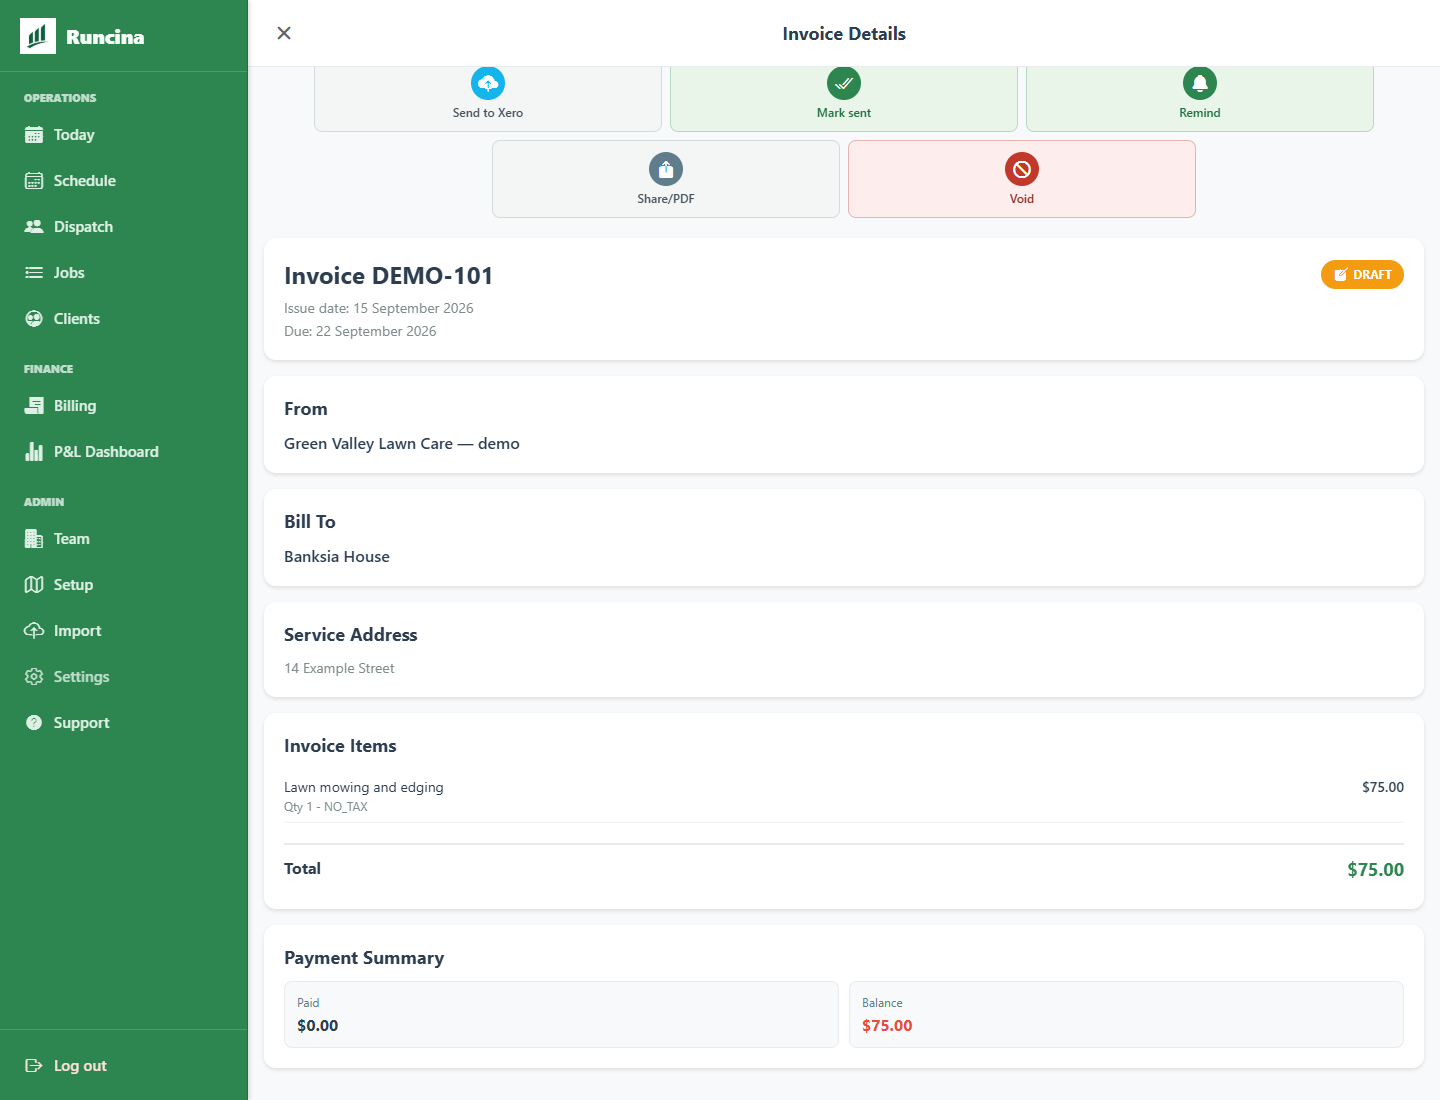
The example invoice is for the same visit shown in the quote-to-invoice walkthrough. A completed job and a paid invoice are separate records: finishing the mowing does not mean the customer has paid.
Record what the customer actually paid
- Confirm receipt. For cash or a bank transfer, check the amount received before recording the payment.
- Record the payment against the right invoice. Check the amount and payment details, then review the remaining balance. A partial payment leaves an amount outstanding.
- For an online payment, check the result. After Stripe setup, you can create and share an invoice payment link. Wait for the confirmed payment to appear before treating the invoice as paid.
A payment link, sent reminder or Xero export does not itself mark an invoice paid. If a confirmed online payment is missing, check its provider status and contact support with the invoice reference before recording it again.
Use Send to Xero only after connecting the correct organisation. The export creates a draft for review; read the Xero workflow and limits before relying on it for your accounting.
Start with one visit and one invoice
Review your business settings, add a first visit and check its invoice before sharing. The first-visit guide walks through setup.
For the earlier steps, read planning a recurring mowing round and handing work between the office and crew.